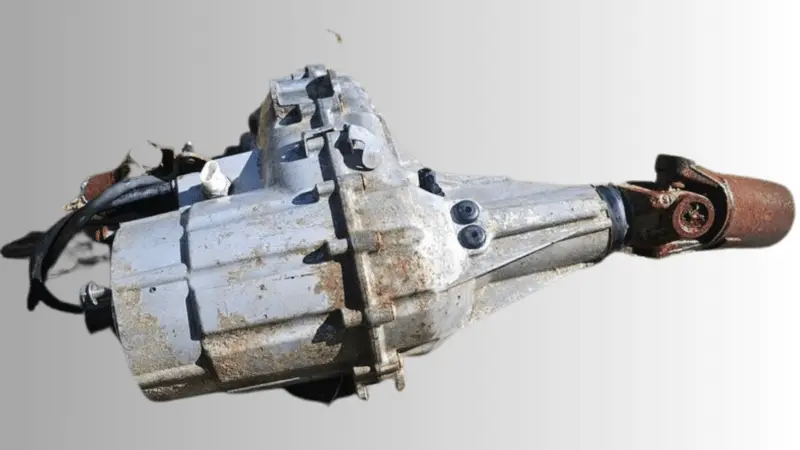
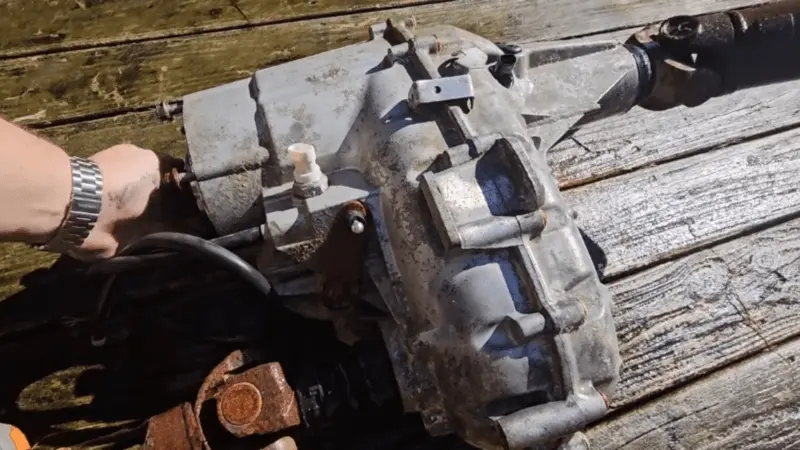
Venturing on the open road in your Chevy 2500HD is an exhilarating experience, but encountering transfer case problems can quickly turn the joyride into a headache. In this blog post, we delve into the intricacies of Chevy 2500HD Transfer Case Problems, shedding light on common issues that drivers may face.
Chevy 2500HD Transfer Case Problems may include issues with the 4WD system, sensor malfunctions triggering warning lights, insufficient transmission fluid leading to leaks, buzzing noises signalling the need for fluid replacement, and potential chain breaks causing challenging gear shifts. Addressing these problems promptly ensures optimal performance and a trouble-free driving experience.
From mysterious leaks to gear-shifting dilemmas, we’ll navigate through the challenges, offering insights into the reasons behind these problems and practical solutions.
What Is a Chevy 2500hd Transfer Case?

A Chevy 2500HD transfer case is a crucial component in the vehicle’s drivetrain system. In simple terms, it takes power from the engine and distributes it to the axles. This enables the driver to switch between 2WD and 4WD modes manually. In 2WD, only one shaft is involved, allowing the engine’s power to transfer seamlessly.
However, the 4WD system functions differently, necessitating two separate shafts. The transfer case plays a vital role in this process. If the transfer case fails, the vehicle is limited to two-wheel drive, impacting its off-road capabilities. Essentially, the transfer case is integral to the smooth operation of the Chevy 2500HD’s 4WD system.
RELATED: How Long Can You Drive With A Bad Transfer Case
Common Chevy 2500hd Transfer Case Problems and Solutions

Problem 1: 4WD System Failure
Reason: One common issue with the Chevy 2500HD transfer case is the 4WD system malfunctioning, causing the transfer case to jump out of gear during driving. This problem often stems from a malfunctioning encoder motor, which is responsible for controlling the engagement of the 4WD system.
Solution: To address this issue, start by inspecting the encoder motor’s in-built sensor. If a problem is detected, the 4WD warning light will illuminate. Accessing the encoder motor involves removing the front driveshaft from the vehicle. Once accessed, you can replace the internal sensor. If this step doesn’t resolve the problem, the next course of action is to replace the entire encoder motor. By replacing the malfunctioning encoder motor, the 4WD system should function correctly, resolving the issue of the transfer case jumping out of gear.
Problem 2: 4WD Service Warning Light Illuminated
Reason: If the 4WD service indicator light is illuminated on your Chevy 2500HD’s dashboard, the culprit is likely a malfunctioning sensor switch. This switch allows drivers to select different modes like 2WD or 4WD. When it fails, the service 4WD indicator on the dashboard lights up, signalling the issue. Interestingly, despite attempts with an OBD scanner, no error codes may be detected, making diagnosis challenging. This problem does not necessarily indicate a transfer case fault but rather points to a malfunction in the sensor switch.
Solution: To resolve this issue, replacing the malfunctioning sensor switch is the only viable option. Once replaced, the 4WD indicator light should turn off, restoring normal functionality to the system. This solution ensures proper mode selection without manual intervention in the wheel hub locking process.
Problem 3: Insufficient Transmission Fluid
Reason: The Chevy Silverado transfer case may experience low transmission fluid, a common issue that doesn’t degrade like motor oil. If you’re consistently losing transmission fluid without a clear source, it may be leaking into the transfer case due to a broken seal between them. This situation is more pronounced when towing a trailer.
Solution: To confirm this issue, perform a simple test by jacking up the vehicle, unbolting the nut on the transfer case, and observing fluid flow. If a significant amount spills out when removing the fill cap, the seal is likely broken. To address this, replace the seal after pulling the transfer case. Once the seal is replaced and transmission fluid is replenished, the problem should be resolved, preventing future concerns about low fluid levels. This fix ensures the proper separation of transmission fluid and the transfer case.
Problem 4: Chevy Truck Transfer Case Noise
Reason: If you’re cruising along, enjoying your music, and suddenly hear a disturbing buzzing noise from underneath your Chevy truck, the culprit is likely the transfer case. This noise indicates a need for new fluid, especially if the vehicle has surpassed 62,000 miles. Over time, the lubricating properties of the transfer case fluid can degrade, leading to contamination and the emergence of the buzzing sound.
Solution: To resolve this issue, a straightforward solution is to replace the fluid in the transfer case. This process is relatively simple, making it accessible even for those unfamiliar with automotive maintenance. By changing the fluid, you restore the lubricating properties, eliminating the buzzing noise and ensuring the proper functioning of the transfer case. Regular fluid maintenance can prevent future occurrences of this problem, maintaining a smooth and quiet driving experience.
Problem 5: Transfer Case Leak in Chevy Silverado
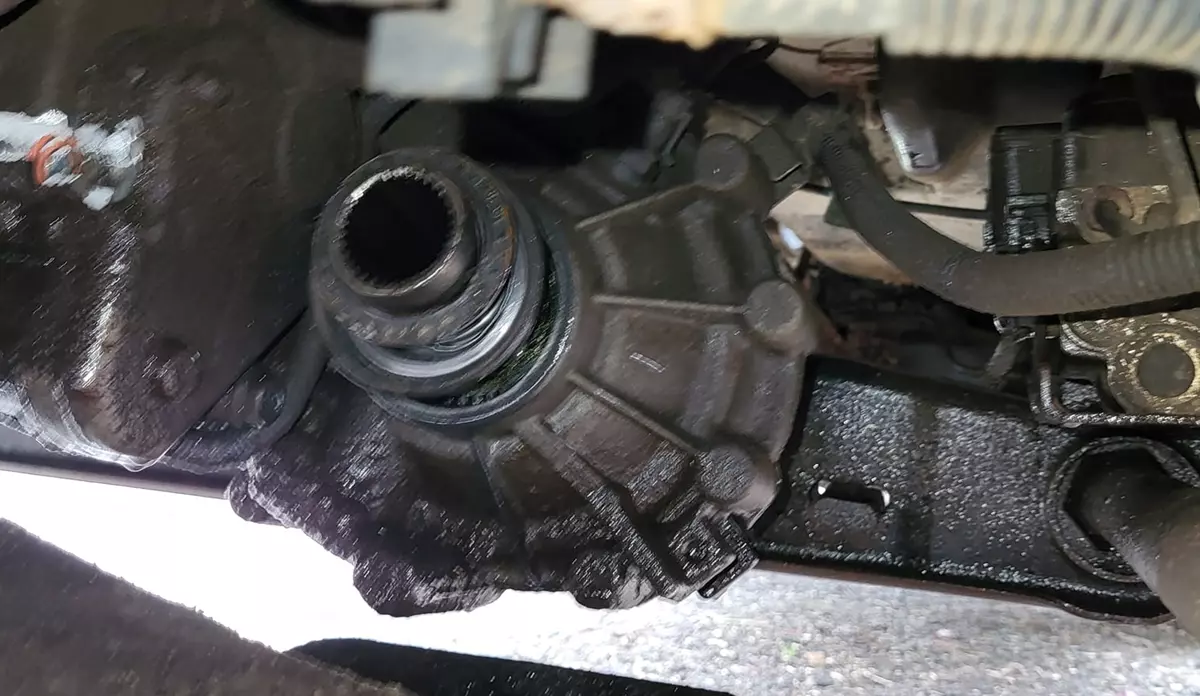
Reason: If you’re grappling with an elusive leak beneath your Chevy Silverado, the transfer case could be the culprit. This often-overlooked issue can be challenging to identify due to its small size. The transfer case houses an internal fluid pump, and over time, the casing can wear down, leading to fluid leakage.
Solution: To locate the source of the leak, lift the vehicle and inspect the transmission pan. Look for signs of liquid on the ground, especially if the area around the transmission casing shows an elevation where the leak may be stopping. Clean the transfer case and scrutinize it closely for a small pinhole. Once located, replace the damaged case half by disassembling the transfer case.
If the leak persists after addressing pinholes, the tail-shaft seal may be damaged. Fortunately, fixing this involves removing the driveshaft, replacing the old tail-shaft seal, and installing a new one, ensuring a reliable solution to the transfer case leak. Regular checks and prompt repairs can prevent further issues.
Problem 6: Gear Shifter Won’t Engage
Reason: If your car’s gear shifter is unable to engage, the problem might be linked to a malfunctioning encoder motor in the transfer case. When this motor fails, the transfer case remains neutral, preventing the vehicle from shifting into gear.
Solution: To address this, the first step is to replace the malfunctioning encoder motor. This replacement typically restores the functionality of the gear shifter, allowing you to get back on the road. If, however, the issue persists after changing the encoder motor, the next course of action is to reset the Transmission Control Module (TCM). Keep in mind that TCM reset is effective only for issues related to TCM’s learning patterns, not for internal transmission problems. Resetting the TCM brings it back to factory settings, enabling it to adapt to your driving patterns once more. If the problem persists, further investigation into potential internal transmission issues may be necessary.
Problem 7: Break in the Transfer Chain
Reason: A malfunctioning transfer case in your vehicle may be attributed to a break in the transfer chain. Over time, the transfer chain undergoes wear and tear, leading to deterioration. When the chain breaks, the process of changing gears becomes challenging, and the vehicle may struggle or be unable to shift gears altogether.
Solution: To resolve this issue, replacing the transfer chain is necessary. Once the chain is replaced, the vehicle should regain its ability to shift gears smoothly, and normal functionality will be restored. The cost of a new transfer chain is relatively affordable, typically around $300 or less. This is a cost-effective solution compared to the expense of replacing the entire transfer case. Opting for a new transfer chain ensures a reliable and budget-friendly fix for this particular transfer case problem. Regular maintenance and timely replacement of worn components can help prevent such issues in the future.
FAQs
1. Why is my Chevy 2500HD’s 4WD system frequently disengaging?
A common culprit is a malfunctioning encoder motor. Replacing the encoder motor and its sensor can typically resolve this issue, restoring the stability of the 4WD system.
2. What should I do if the 4WD service warning light illuminates without apparent issues?
If the 4WD service warning light is on, check the sensor switch. A malfunctioning switch may trigger the warning light, and replacing it should turn off the indicator.
3. Why is my transfer case making a buzzing noise while driving?
The buzzing noise often indicates a need for new fluid in the transfer case, especially if the vehicle has surpassed 62,000 miles. Changing the fluid eliminates the noise and maintains transfer case functionality.
4. How can I identify a transfer case leak in my Chevy Silverado?
Lift the vehicle, inspect the transmission pan, and look for liquid signs. If there’s an elevation near the transmission casing, the leak may be stopping there. Cleaning the transfer case can reveal small pinholes, indicating a need for case half replacement.
5. What might be the cause if my gear shifter won’t engage?
A likely cause is a malfunctioning encoder motor in the transfer case. Replacing the encoder motor is the primary solution. If the issue persists, resetting the Transmission Control Module (TCM) may help restore it to factory settings for adaptive learning.
RELATED: What Does A Bad Transfer Case Sound Like
Finally, The Cost Of Replacing The Chevy 2500hd Transfer Case
Replacing the Chevy 2500HD transfer case can be a substantial investment. On average, the cost hovers around $2,500 for the replacement, and the process typically takes approximately four hours. However, the total expense may vary depending on the complexity of the job. If additional components need removal and reinstallation due to the transfer case’s attachment, the timeframe and cost may increase.
For those inclined towards DIY projects, rebuilding the transfer case is an alternative. Transfer case repair kits are available at around $120, offering a more budget-friendly option. If hiring a professional, the service may cost between $600 to $700. Consider visiting a Transtar for parts, as they often carry a comprehensive selection.

Eric L. Friedman is a car expert who has worked on Chevy and GMC trucks for over 10 years. He started AutoYolo to help people fix their own cars. On the blog, he shares easy tips, step-by-step guides, and repair advice to make car problems less stressful and more affordable.

